Toys Toys Toys!

Some projects are destined to be great from the beginning. This project was one of those.
I met Lori Paranjape after I had worked on a project with one of her coworkers. She had expressed that she wanted some unexpected elements to the show home she was designing for Barrow Builders, and my name was thrown into the mix.
I could tell from the get-go that Lori just . . . got it. We sat down, discussed some of my prior projects and she showed me the floor plans and renderings. I always prefer to see a site in person to wrap my brain around it, but as this house was literally just studs at this point, drawings it was.
I went to my drawing board and spent some time working on ideas. I wanted something really fun and innovative that would make a show stopping background for this playroom. It had to be gender neutral, whimsical, but still sophisticated.
The first idea I pitched included filling the wall with a massive composition comprised of chalk. A series of 3” deep wooden frames of various sizes stacked on top of each other, then installed at an angle to create some really strong movement. Then filling those frames with thousands of pieces of chalk, with only the ends exposed. We both loved the idea, but it somehow just wasn’t right.


The second idea was a large scale iteration of a doll house cross-cut so that it only protruded a few inches from the wall, sort of like a three dimensional line drawing. I would then assemble grids inside the room of a single object en masse to denote what the room was. For example, miniature copper pots covering the ‘kitchen’ wall. This was such a great idea, one that we came up with together, until I ran the numbers. The materials for just the miniature grids would have been 70% of the budget alone. Hmm, not gonna work.
We both had a sort of epiphany moment when we looked back through some of my past work, and Lori pointed out that she loved the excessively organized quality to a lot of my work. I realized this was the character quality that I wanted to emphasize in the room, and we both decided a solid grid work was just what this room needed. I loved the contrast of a kids room, literally designated to be the messy space, had an element of OCD organization to it. Hmm, a strong contrast of ideas in one work? Sounds about right.

I started collecting toys en masse. Rubiks cubes, army men, spinning tops, yo-yos, rubber duckies, tiaras, etc. I always love the sourcing of my materials, and the strange looks I always get. Figuring out the quantity of materials needed for projects like this is always tough. I decided the spacing between each piece, finalized the composition with Lori, and did a LOT of math. Once I knew that magic number, I added an extra 30% to account for any mistakes. A great rule of thumb I interpret loosely for any project that requires a TON of material is to figure out how much you need, and then double it. You’ll probably be close.


The toys were mounted onto rigid insulation foam, fast and easy. Then painted using a Wagner paint sprayer in a custom color.
Next, it was on to assembly. Each toy needed a single nail glued to the back. That nail was then pushed into panels of rigid insulation foam that we had left from another project. Once a paint color was decided on, I sprayed all the pieces directly on the foam. It kept them upright and gave me an incredibly easy way to transport the toys.

The Handy Dandy on a ladder. . . practicing some gymnastics...
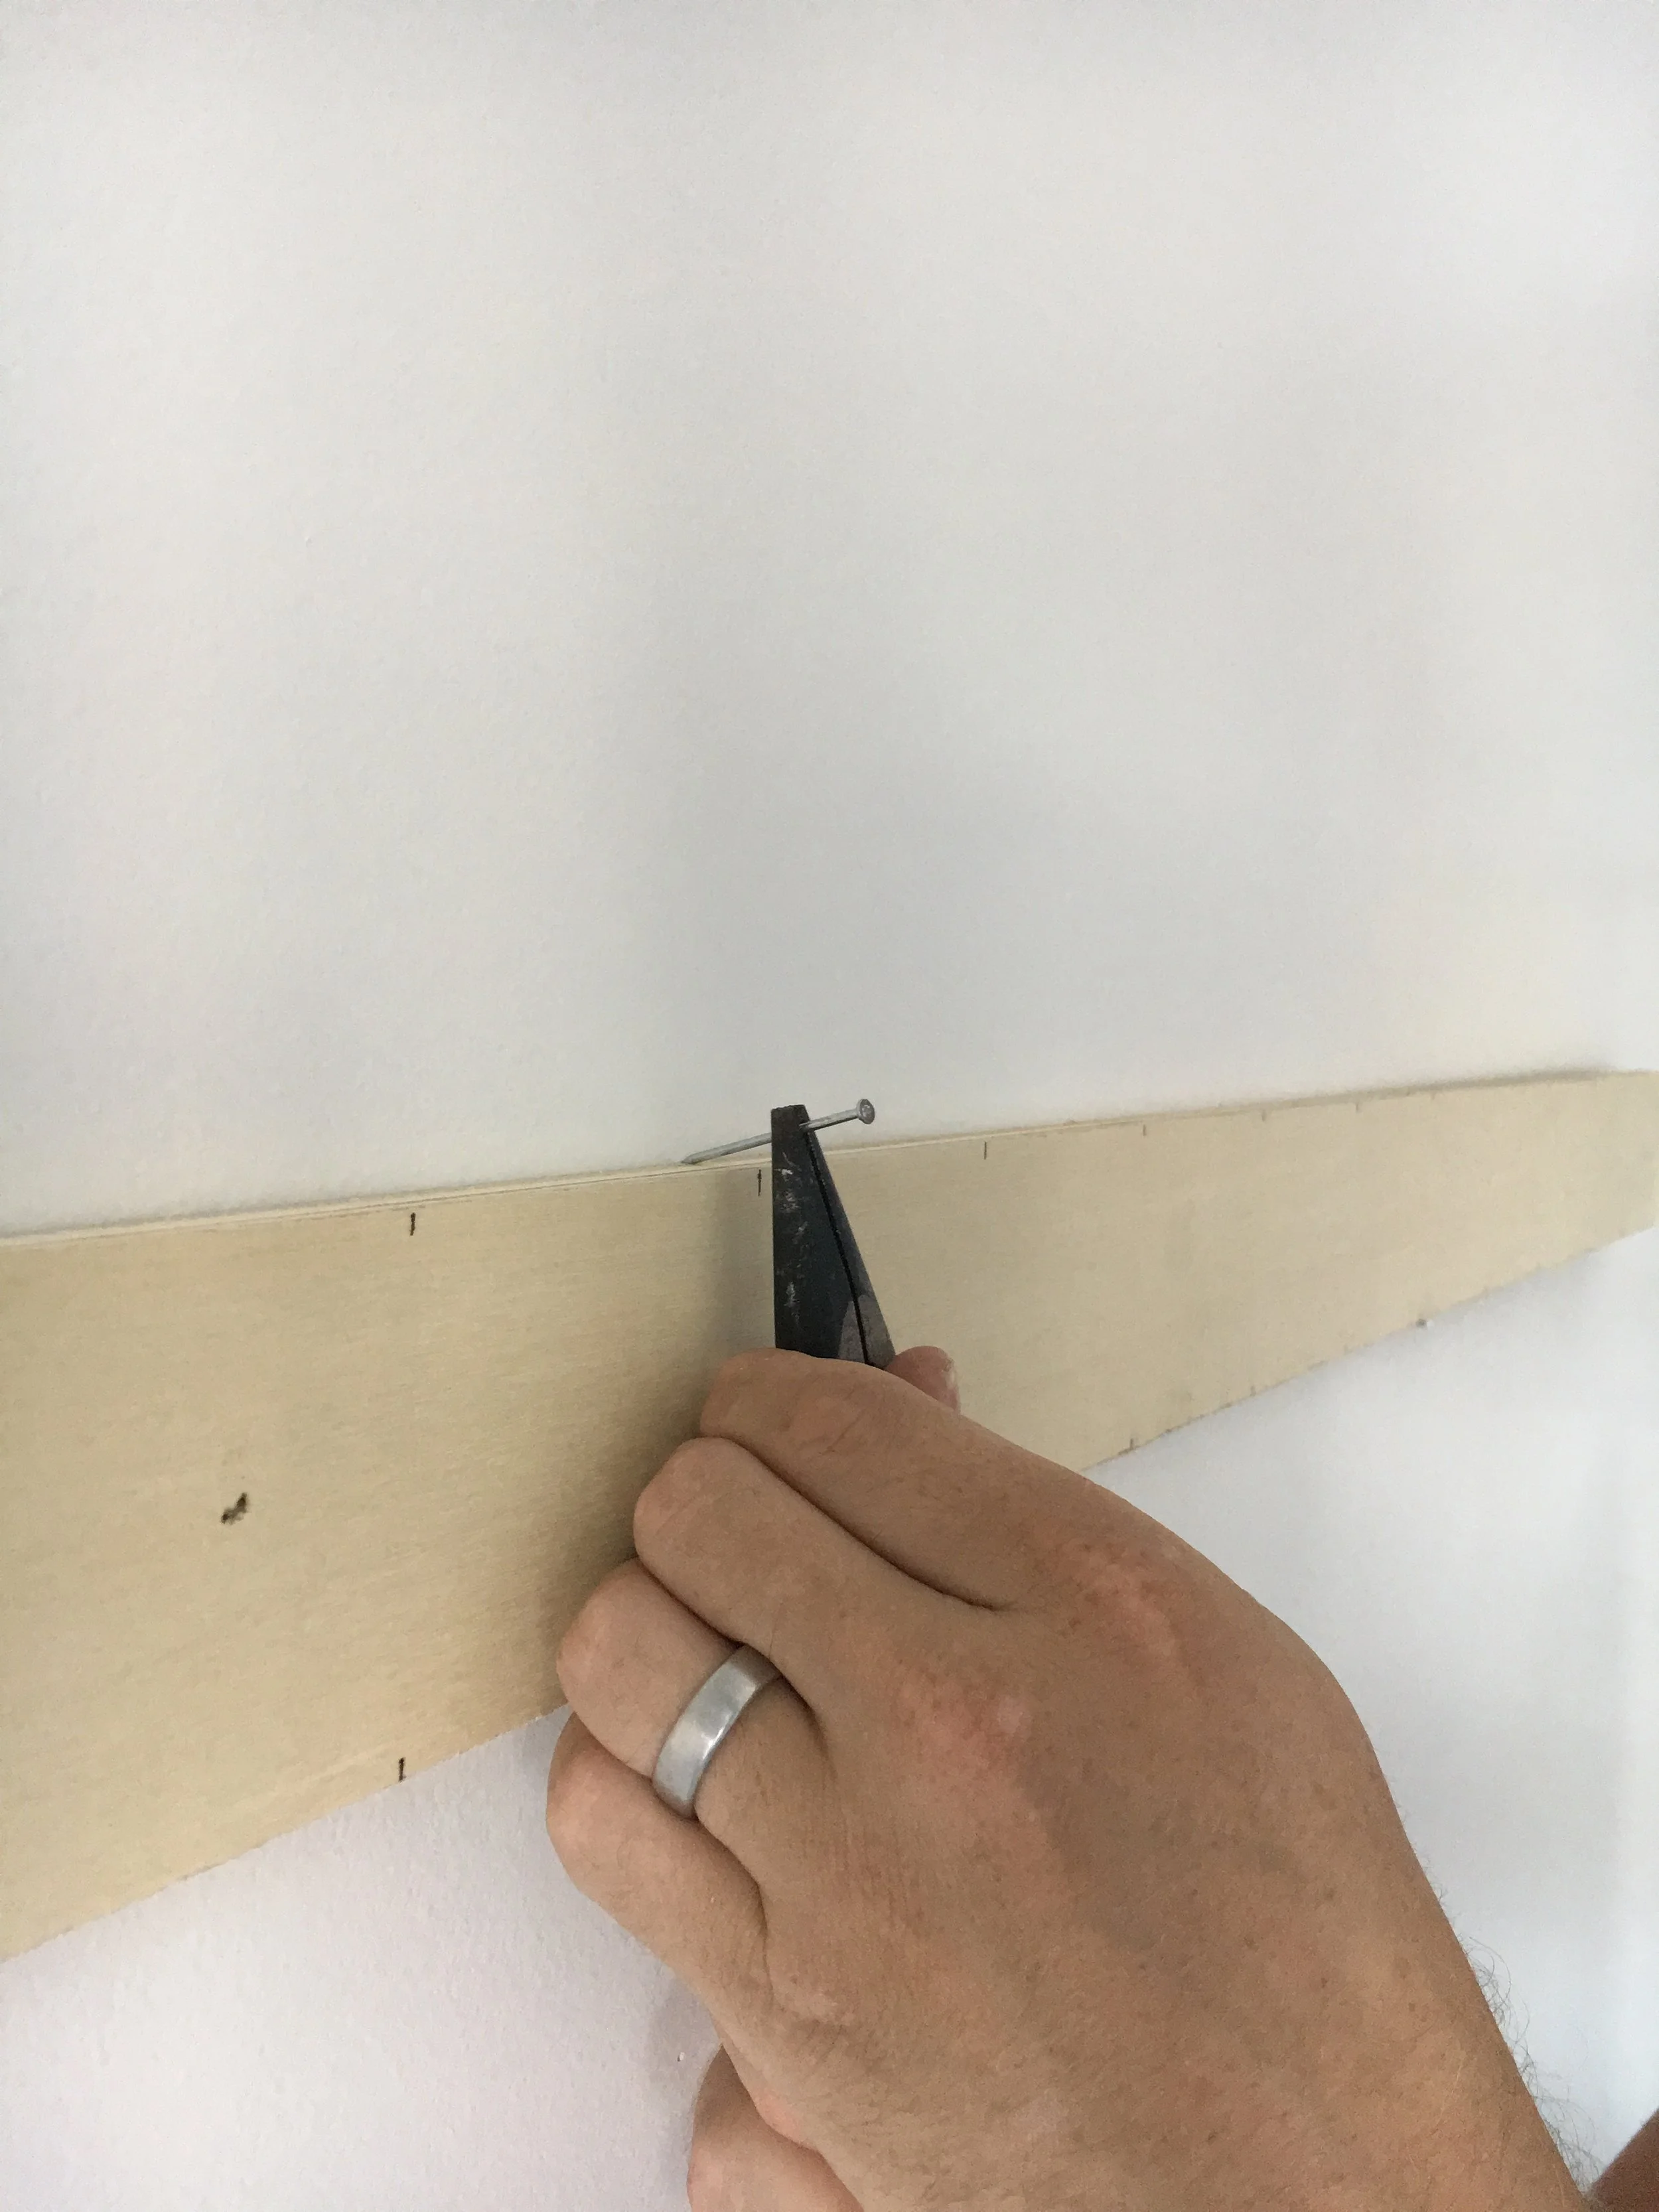
Installation also went incredible well. Making sure your lines are level is always number one priority, as well as your spacing. I’ve learned to use custom spacer boards to make this process a lot easier and fool proof. I marked off the placement for each piece, working from the bottom up. Since the toys were attached to the nails already, I worked from the top down using needle nose pliers to drive each nail into the wall. Overall, the actual installation took about 9 hours on site. Not too bad for such a large piece.
The end product was SO worth it. There’s nothing better than being up close to a work for so long, and then having that moment that I can step back and drool a bit. It’s even better when the whole house gives you the same impression. I'm honored to have been included in a stunning design, and loved working with Lori. Collaboration leads to beautiful things, my friends, and I like beautiful things.


More examples of Lori's incredible work can be found on her website here or her Instagram here!